How to Change a Lawn Mower Hydro Belt
The quick guide to replacing transaxle drive belts.
Hydro belts, transaxle drive belts, hydrostatic drive belts and ground drive belts. Different terminology, same thing. Whatever you call it, its function is to transfer power from the engine to the transaxles, powering the drive wheels on a zero turn lawn mower. Without this belt, the wheels wouldn't turn, and that's why it's important to check this belt for cracks and other signs of wear often and to replace when necessary.
What are signs of lawn mower belt wear?
- The belt has sidewall damage
Mower belt edges should be smooth and even throughout the entire length of the belt. If even a small portion of the belt is worn, it's at risk of breaking and should be replaced.
- The belt has a glazed or burned sidewall.
Look at the belt edge that contacts the pulleys. If it appears shiny, glazed or burned, it will need to be replaced.
- The belt is cracked.
If the belt appears brittle and is deteriorating to the point that it has cracks, even shallow cracks, it's at high risk of breaking and needs to be replaced.
When to replace a mower belt
Gravely® suggests replacing a hydrostatic drive belt as soon as it shows signs of wear. Though the recommendations outlined in Gravely operator's manuals suggest a belt will last for a good portion of the mowing season, taking an extra minute or two each day to ensure the belt is without cracks, burns or damage, could pay for itself. Even if the belt hints at signs of wear, it's worth replacing. It may cost a little extra time in the shop and a few extra dollars per year, but the assurance of having a belt that won't snap on the jobsite is worth every minute and dollar spent.
Where to buy extra lawn mower belts
No matter how healthy the supply of Gravely OEM belts is at our distribution centers, a dealer could be wiped out of their inventory on any given day during the busy season. Don't put yourself at the mercy of a dealer's supply. Stock up on belts early and keep extras on hand. Breaking a belt in the field is enough of a challenge, but not having a replacement belt to get a mower back in business will turn a couple hours of downtime into a couple days of downtime.
Don't be risk being regretful. Keep extra Gravely OEM belts on hand by stocking up now at your local Gravely dealer.
How to change hydro belts
Gravely dealers are your best resource for service help, but immediate service isn't guaranteed during the busy season. If you work with a dealer who doesn't always have capacity to repair your machine at a moment's notice, consider learning simple procedures, like belt replacements, yourself. Gravely commercial lawn mowers are designed so most people can complete light service tasks like belt replacements on their own and without special tools.
The following guide shows how to replace the hydrostatic drive belt on a Gravely ZT HD series zero turn lawn mower, which is identical to the procedure for the Gravely Pro-Turn® Z and Gravely Pro-Turn ZX mowers. It's also very similar to the belt replacement procedure for Pro-Turn, Pro-Turn 100, Pro-Turn 200 and Pro-Turn 400 series of zero turn lawn mowers.
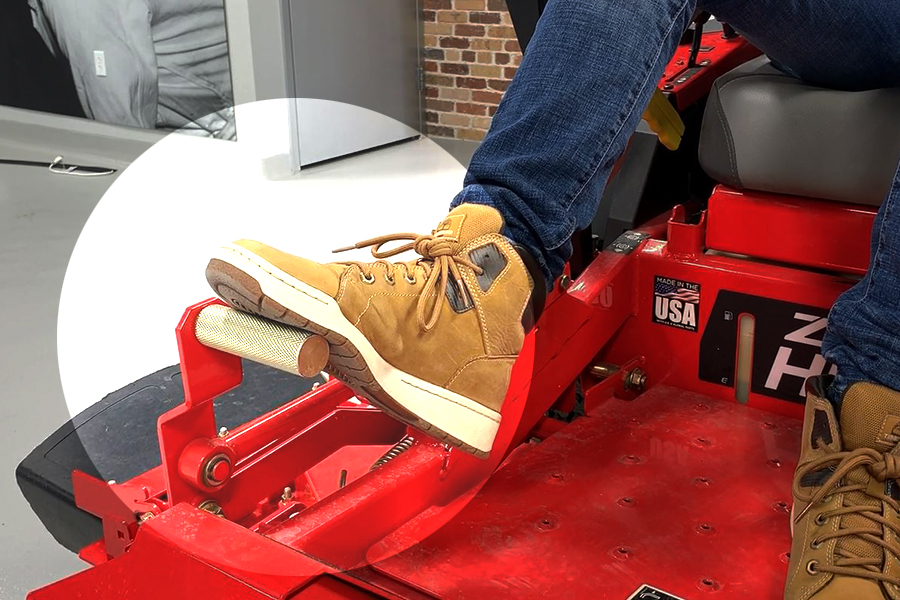
Before you start service, remember to park the unit on a flat, level surface, engage the parking brake, stop the engine, remove the key from the ignition and to wait for all moving parts to stop and for hot parts to cool. Additionally, reread the safety instructions in the operator's manual for your unit and to follow along with the procedural instructions outlined in the manual.
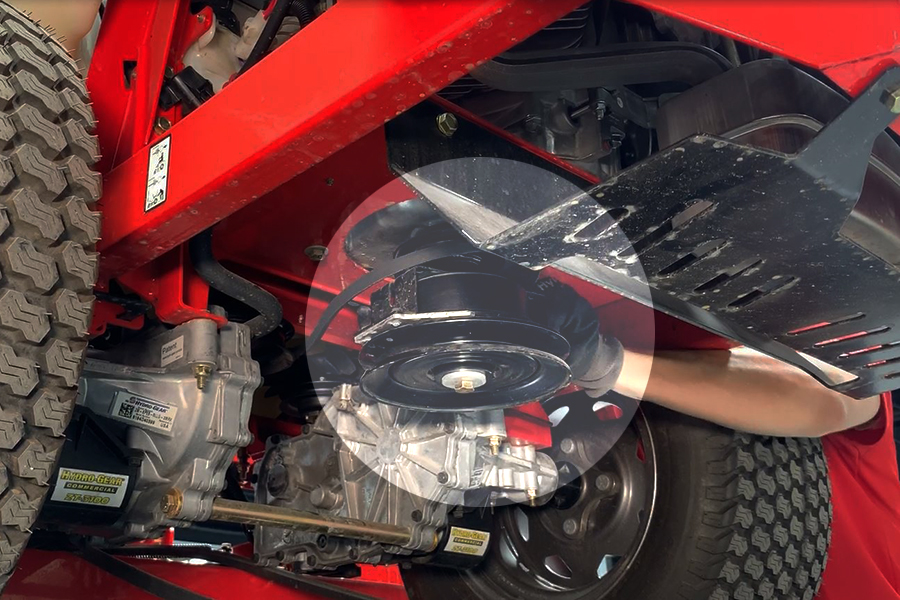
Hydro Belt Removal
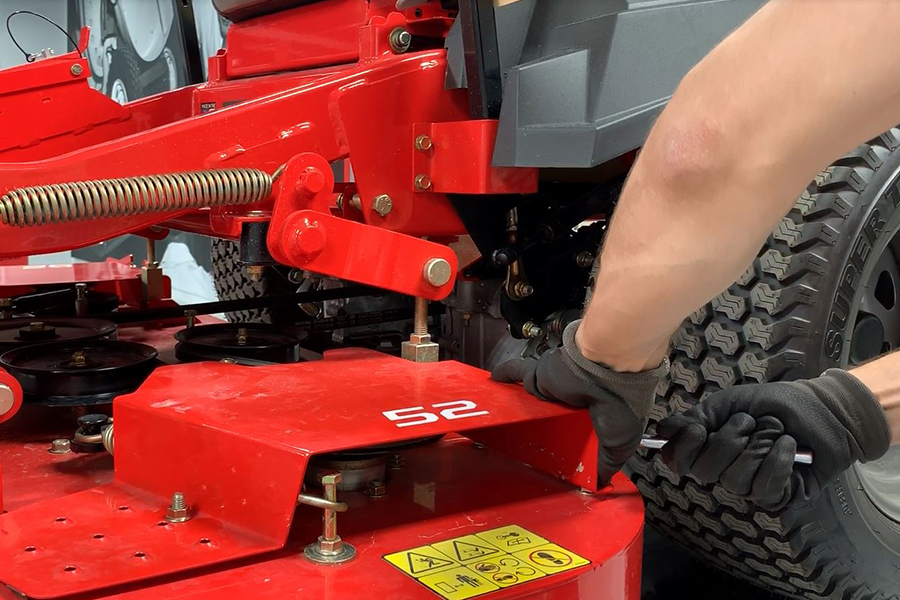
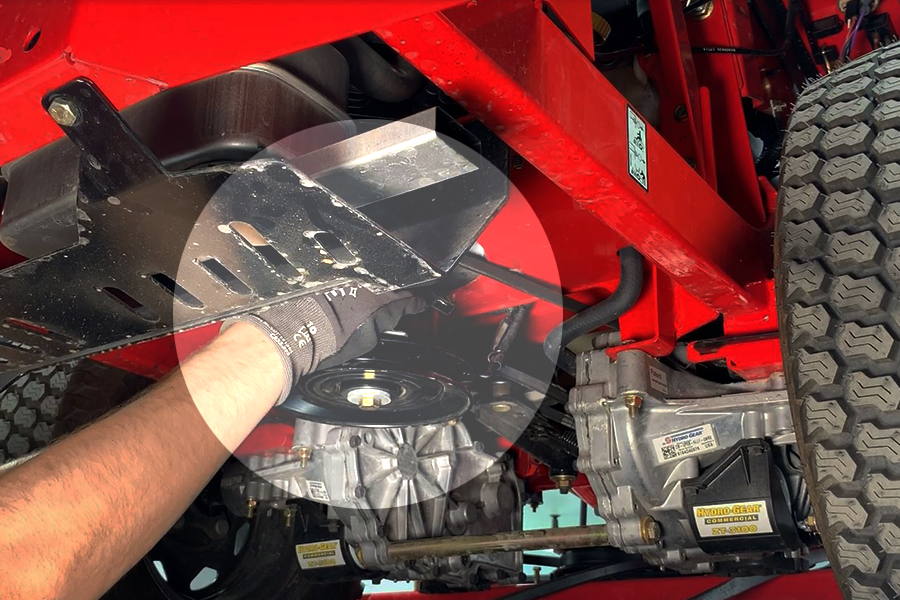
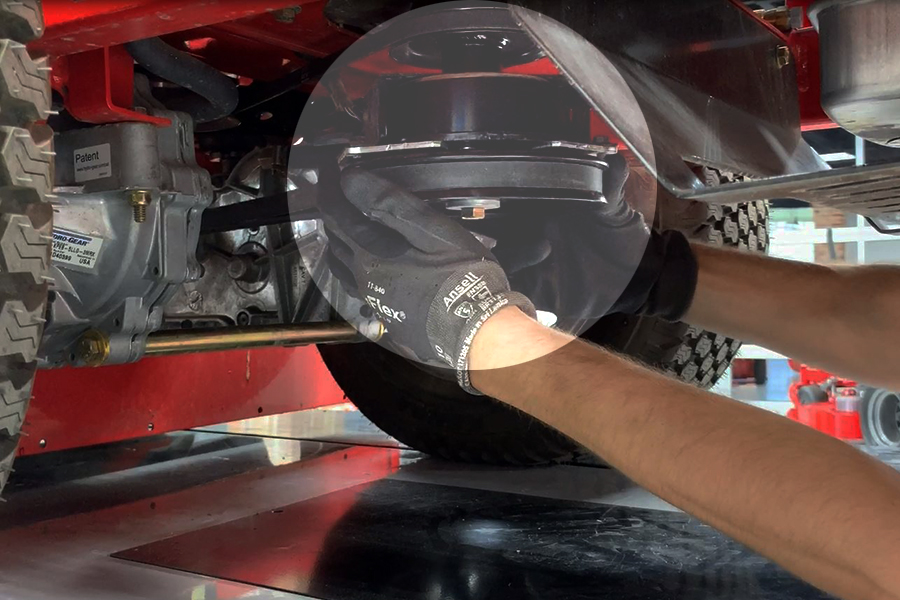
1. Remove the left belt cover.
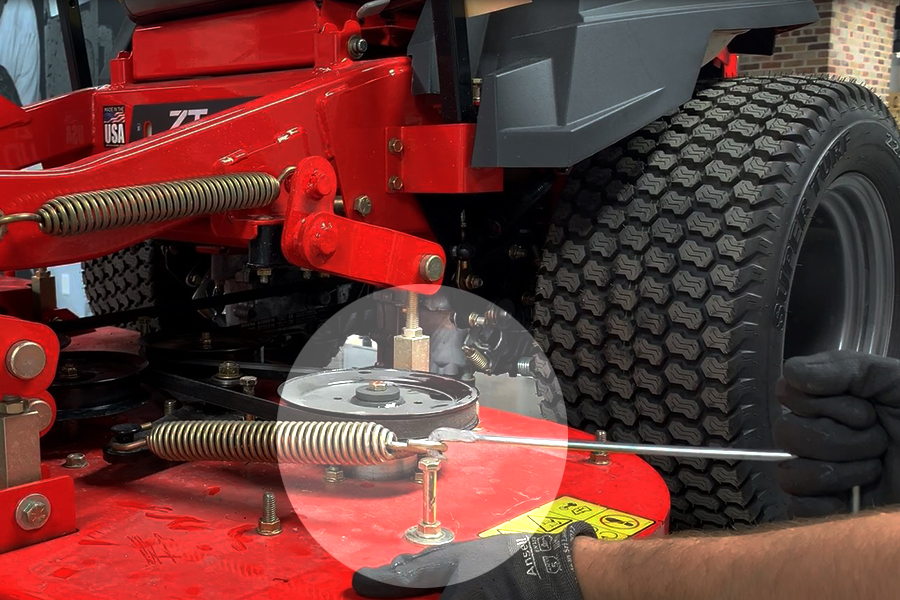
2. While wearing safety goggles, remove the PTO idler spring hook from the anchor bolt with a spring puller or similar tool.
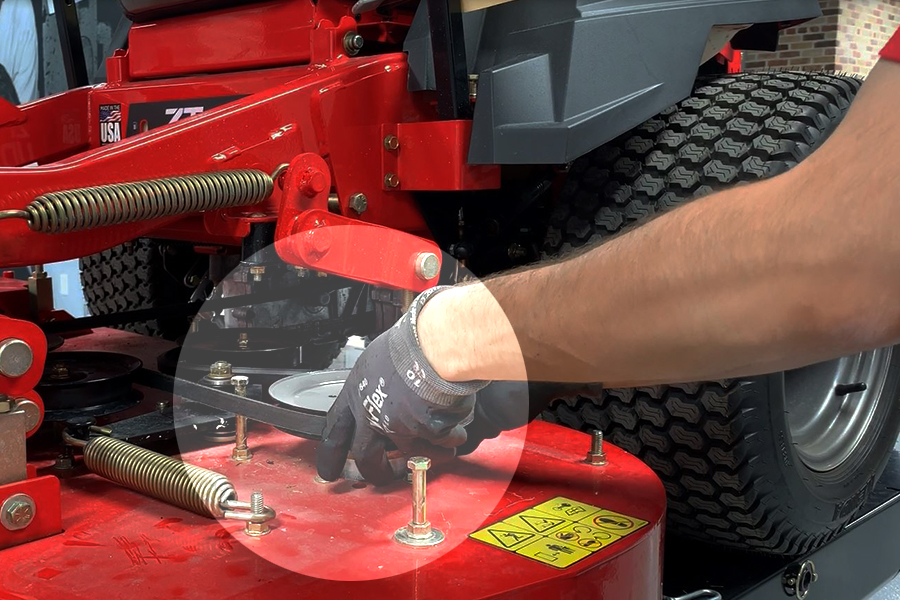
3. Remove the PTO belt from the clutch pulley at the rear of the unit.
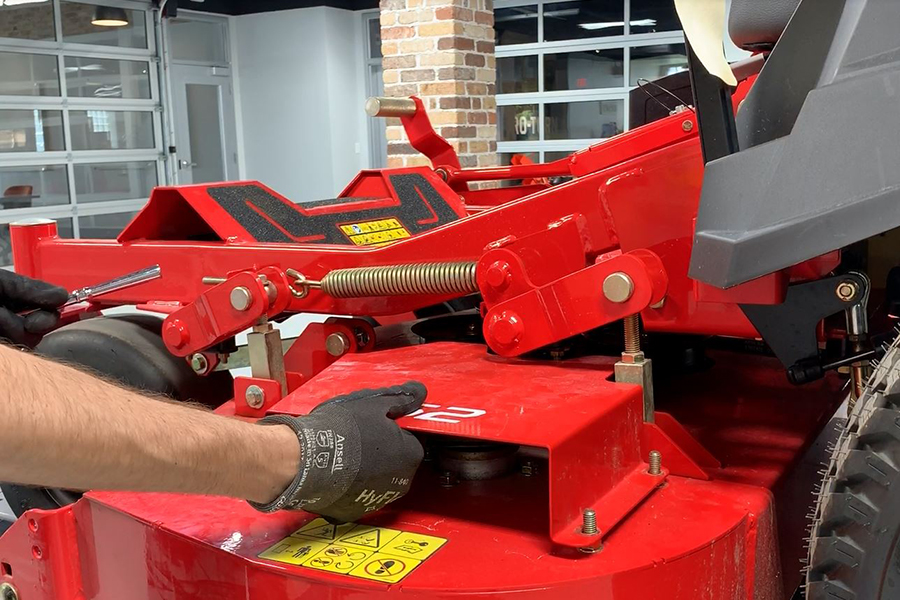
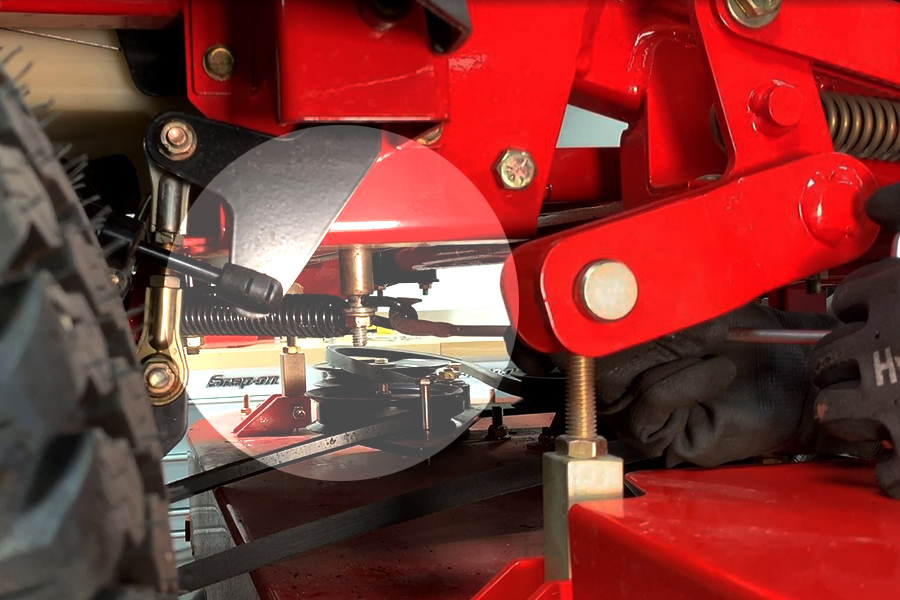
4. Release the mower deck transport lock and place the mower deck at its lowest cutting height.
5. While wearing safety goggles, remove the hydrostatic drive idler spring hook from the anchor bolt with a spring puller or similar tool.

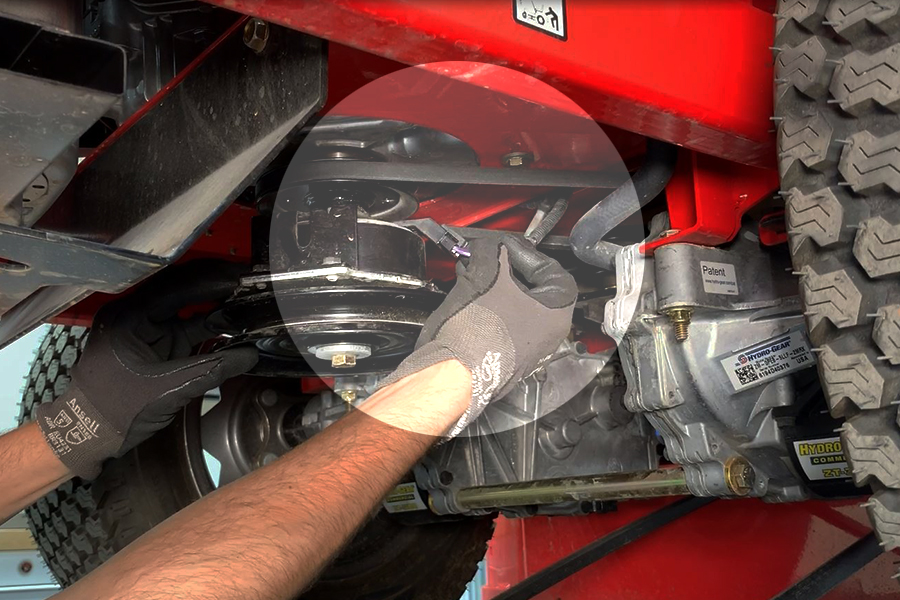
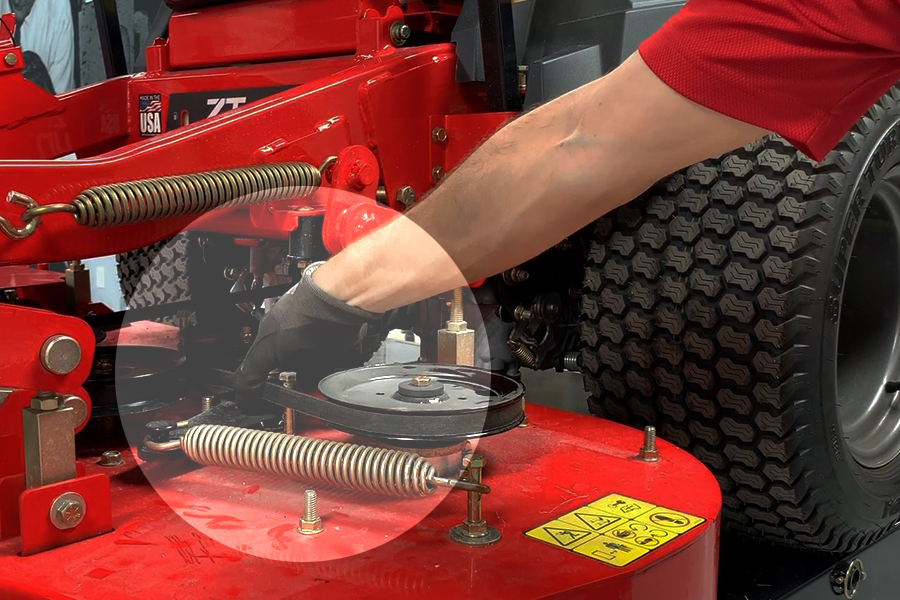
6. Remove the hardware retaining the clutch stop bracket to the frame and remove the clutch stop bracket.
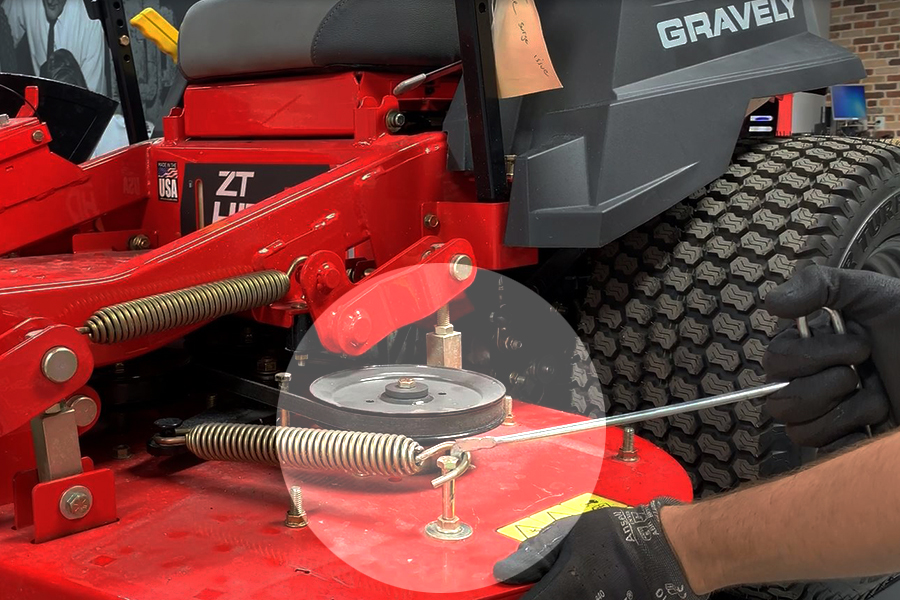
7. Disconnect the wire harness from the clutch.
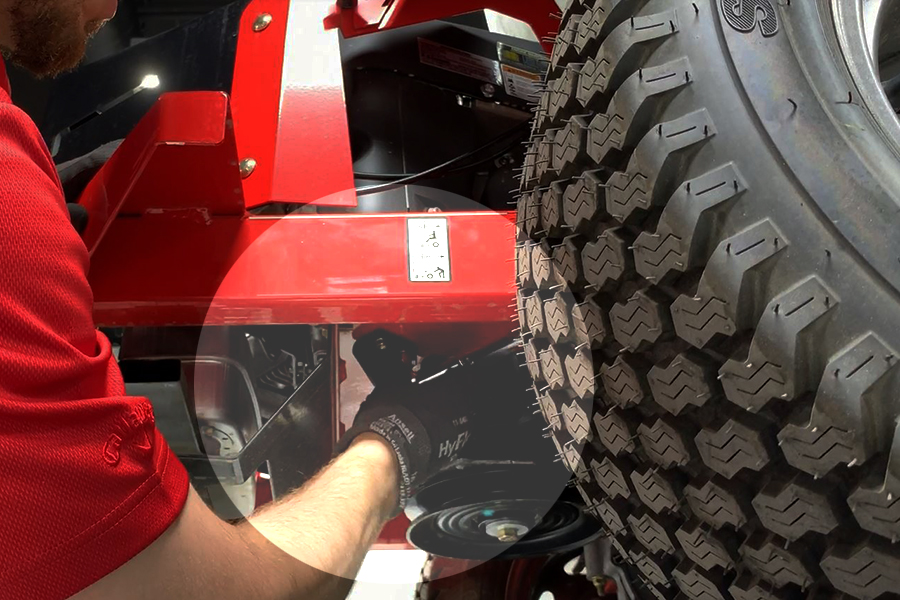
8. Disengage the hydro drive belt from either the left or right transaxle pulley, then push the loose belt length toward the interior of the unit.
9. Remove the hydro drive belt from around the engine drive pulley and over the clutch.
10. Remove the hydro drive belt from the remaining transaxle pulley, remove the belt and discard.
Hydro Belt Installation
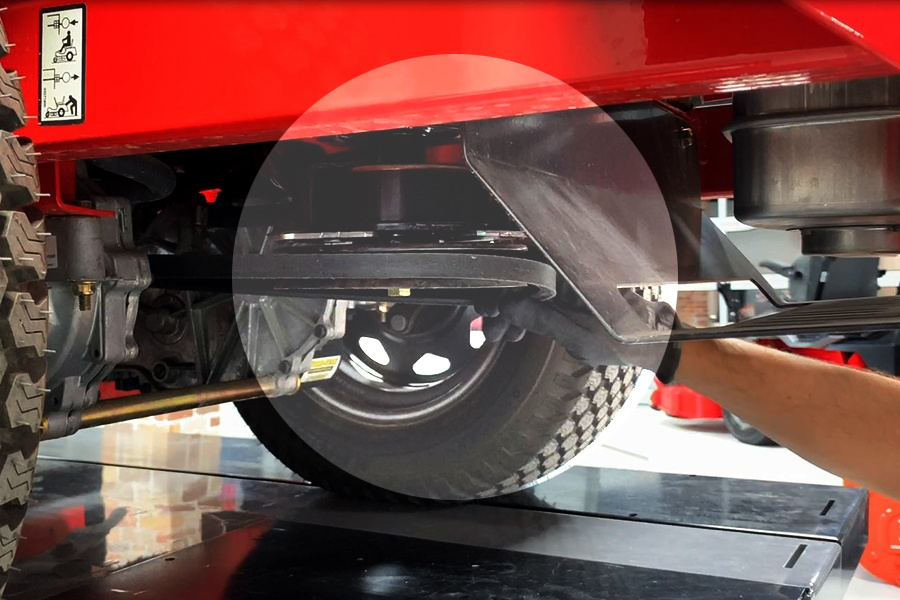
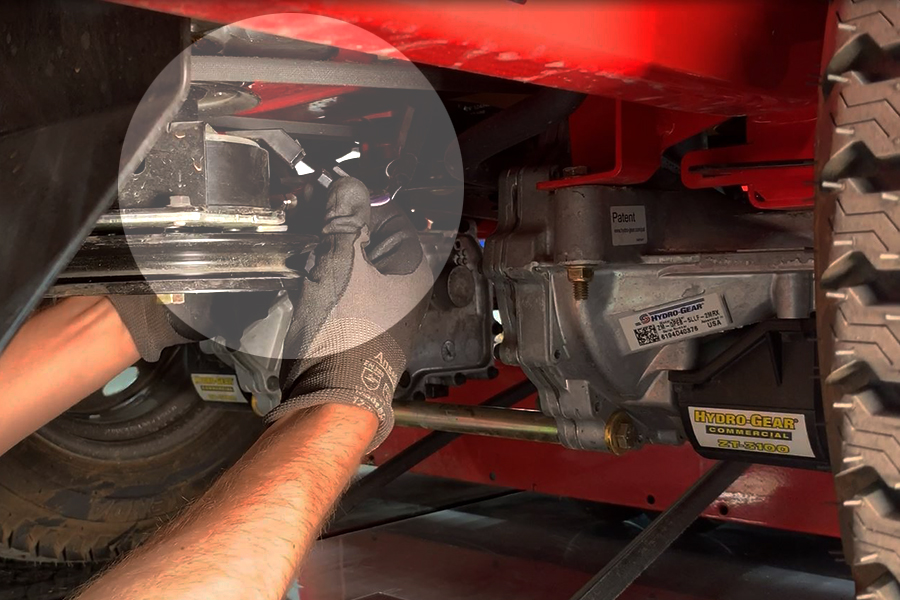
1. Feed the hydro drive belt from above the transaxle and toward the unit interior from either the left or right side of the unit. Engage the belt around the transaxle pulley on whichever side the belt was fed into.

2. Bring the hydro drive belt over the clutch and around the engine drive pulley, then install the belt around the remaining transaxle pulley.
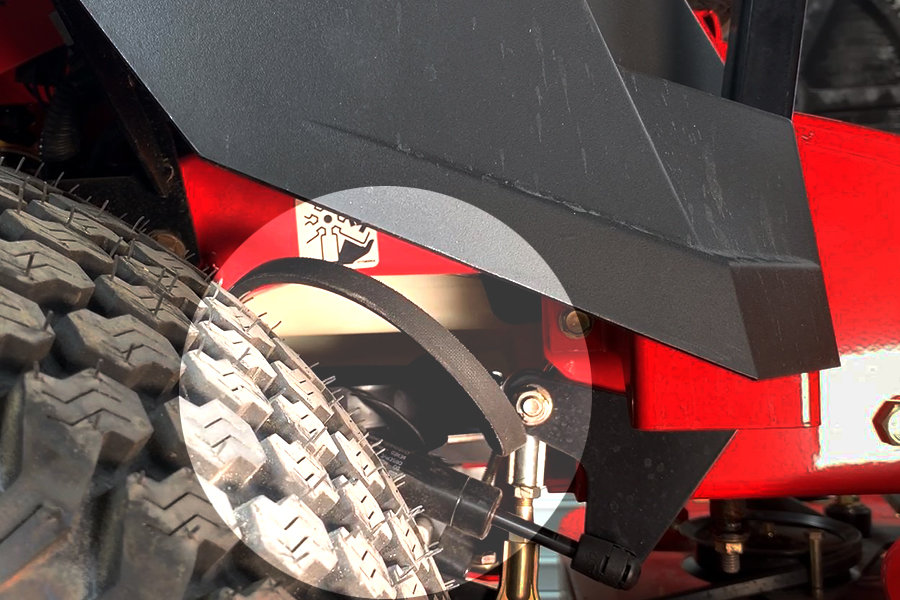
3. While wearing safety goggles, use a spring puller or similar tool to reengage the hydro idler spring around the anchor bolt. Ensure the hydro belt has tension and is aligned in all pulleys.
4. Reconnect the wire harness to the clutch.
5. Align the clutch stop bracket with the slot in the clutch and the two holes in the frame. Secure the bracket to the frame with the two original tapping screws.

6. Reinstall the PTO belt around the clutch pulley.
7. Align the PTO belt with all spindle and idler pulleys on the mower deck.
8. While wearing safety goggles, use a spring puller or similar tool to reinstall the PTO idler spring around the anchor bolt.
9. Ensure the PTO belt has tension and is aligned in all pulleys.
10. Reinstall the belt cover and secure with the original hardware.